To start this process, you can use the Disk Management or the diskpart utility. For a comprehensive guide, you can follow this article to learn how to initialize a newly added SSD/HDD.
How to Initialize SSD/HDD in Windows?
The computer might not detect the drive until you initialize it. You can only use the disk for general use after initializing it and then partitioning it. There are a couple of ways to do it.
Using Disk Management
The computer might not detect the drive until you initialize it. You can only use the disk for general use after initializing a disk and then partitioning it.Disk management is a great windows tool to manage your disk partitions. Here’s how to initialize your newly installed SSD/HDD. You can use your SSD for storage after the initialization ends. It will now detect your new drive as a usable disk partition. Meanwhile, there are several third-party software that you can use to initialize your disk as well. However, such software can be risky to use and it is always a good idea to use Windows built-in software if available.
Initializing With Command Line
You can also use the built-in Powershell to initialize your disk. These steps will guide you on how to initialize your device.
How to Choose Disk Partition Styles?
Master Boot Record(MBR) and GUID Partition Table(GPT) are the two styles for disk partition. MBR has a storage reserve for the computer’s partition information and core code that first launches the computer’s operating system. The MBR partition style only supports 4 partitions and a maximum storage size of 2 Terabyte drives. Unlike MBR, GPT is a newer disk partition style that allows up to 128 disk partitions and supports 9.4 zettabytes or 9400000000 TB of storage. Most newer drives use the GPT disk partition style as it provides data recoverability and better protection.
How to Convert MBR to GPT?
You can convert your MBR disk to GPT using the Disk management tool. These steps will guide you on how to convert the disk partition style. You can also convert it from the command prompt. But, first you have to backup all your data in that disk as it will erase all data. You will also have to change your boot firmware model to UEFI for the conversion to complete. Here’s a step-by-step guide to convert your MBR to GPT using the cmd: The conversion process is very short and will complete very quickly. Adding /allowFullOS will override any issues you may encounter. The mbr2gpt.exe function is generally disabled by default. It can only run on the Windows Preinstallation Environment. But the /allowFullOS bypasses the block and allows the use of the function.
How to Fix Drive Not Initialized Error?
If your disk is having trouble initializing, you can try the following troubleshooting processes. You can also look for detailed information about troubleshooting drives not initialized error.
Initialize Drive
You can follow the above listed methods to initialize the drive. The error is generally fixed by completing the initialization process.
Update/Reinstall Drivers
Updating your drivers is always worth trying first as outdated drivers can also be the cause behind your disk not initializing. You can try these steps to update your drivers: This process will automatically detect outdated drivers and download it for you. You can also click on Search for updated drivers on windows update at the end to check for driver updates in Windows update. Uninstalling your disk driver and reinstalling again can also solve driver related issues. Just click on the Uninstall Driver option at step #3 above. Doing so will uninstall your driver and reinstall it again when you restart your computer. You can again try updating the driver after reinstalling it.
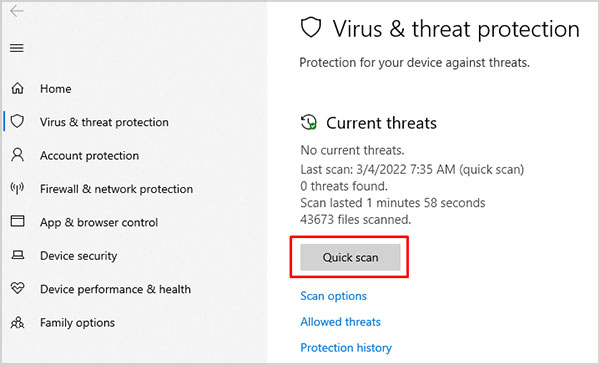
Scan for Viruses and Malware
Windows Defender is pre-installed antivirus software that can detect and remove malware from your computer system. You can scan for malware by following these steps: This will scan the computer system for viruses and offer you the choice to either remove them or quarantine them if any are found. You can also get more scanning options from the Scan options button just below which allows you to do a deep scan of the system which takes longer to complete. You can even choose a custom scan that allows you to scan only a part of the disk. You can choose your preferred option and click on Scan Now.