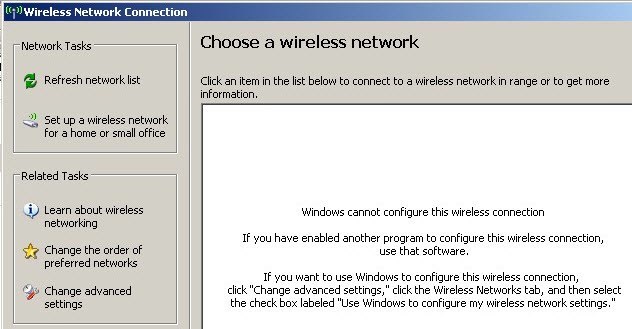
Basically, the connection suddenly dropped one day and he decided to buy a wireless USB stick in order to keep working until he could fix the problem. However, the built-in wireless adapter could no longer detect any wireless networks and would simply display the error message below:
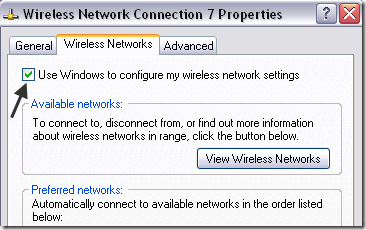
If you want Windows to configure this wireless connection, click “Change advanced settings,” click the Wireless Networks tab, and then select the check box labeled “Use Windows to configure my wireless network settings.” The user tried to update the driver for the built-in wireless adapter, but that didn’t work either. That’s when he called me. After taking a look at the problem and trying a few different solutions, we got it fixed. I will go ahead and list out the various solutions I tried since the one that worked for me might not work for you.
Method 1 – Uninstall Third-Party Wireless Manager
On some machines, like Dell computers, there is third-party software installed by Dell that manages the wireless connection. Similarly, if you have an Intel Pro wireless card installed, it may be controlled by the Intel provided software. In this case, go ahead and uninstall the software to manage the wireless connection. Note that you should not uninstall the driver, just the software. In the case above, the user had installed a wireless USB stick, so that software had to be removed first. Restart your PC and see if Windows starts detecting wireless networks. If not, keep reading!
Method 2 – Start Wireless Zero Configuration Service
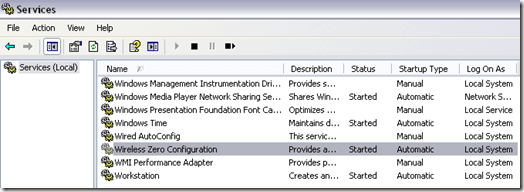
If you’re getting a message about starting the wireless configuration service, it may have been disabled by a third-party program on your computer. You can start it by going to Start, Control Panel, Administrative Tools, and click on Services. Scroll down to the bottom until you find Wireless Zero Configuration.
Make sure that the Status is Started. If not, right-click on the service and choose Start. Once the service is started, check to see if Windows is now detecting wireless networks.
Method 3 – Lets Windows Manage Wireless Settings
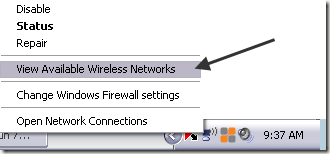
If Windows does not automatically start managing the wireless connection, you may have to manually tell it too. Note that this only works on Windows 7 and earlier. You can do that by right-clicking on the wireless icon in your taskbar and choosing View Available Wireless Networks.
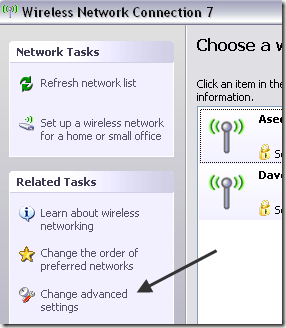
Next, click on Change advanced settings in the left hand menu:
Then click on the Wireless Networks tab when the Properties dialog pops up. Here you should check the Use Windows to configure my wireless network settings box.
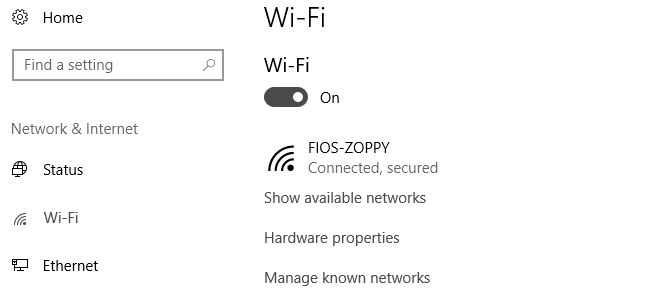
Go ahead and try to see if Windows is now able to detect your wireless networks. Hopefully, this will fix your problem. If you are using Windows 10, you can go to settings, then click on Network & Internet and then click on Wi-Fi.
If you still cannot connect using your built-in wireless card, post a comment here with details and we’ll try to help. Enjoy!